Hardening a Self-Hosted GitLab Server: A Step-by-Step Guide
Default configurations expose unnecessary services and data, so you must restrict network access, enforce strict authentication, and validate output encoding to prevent common exploits.

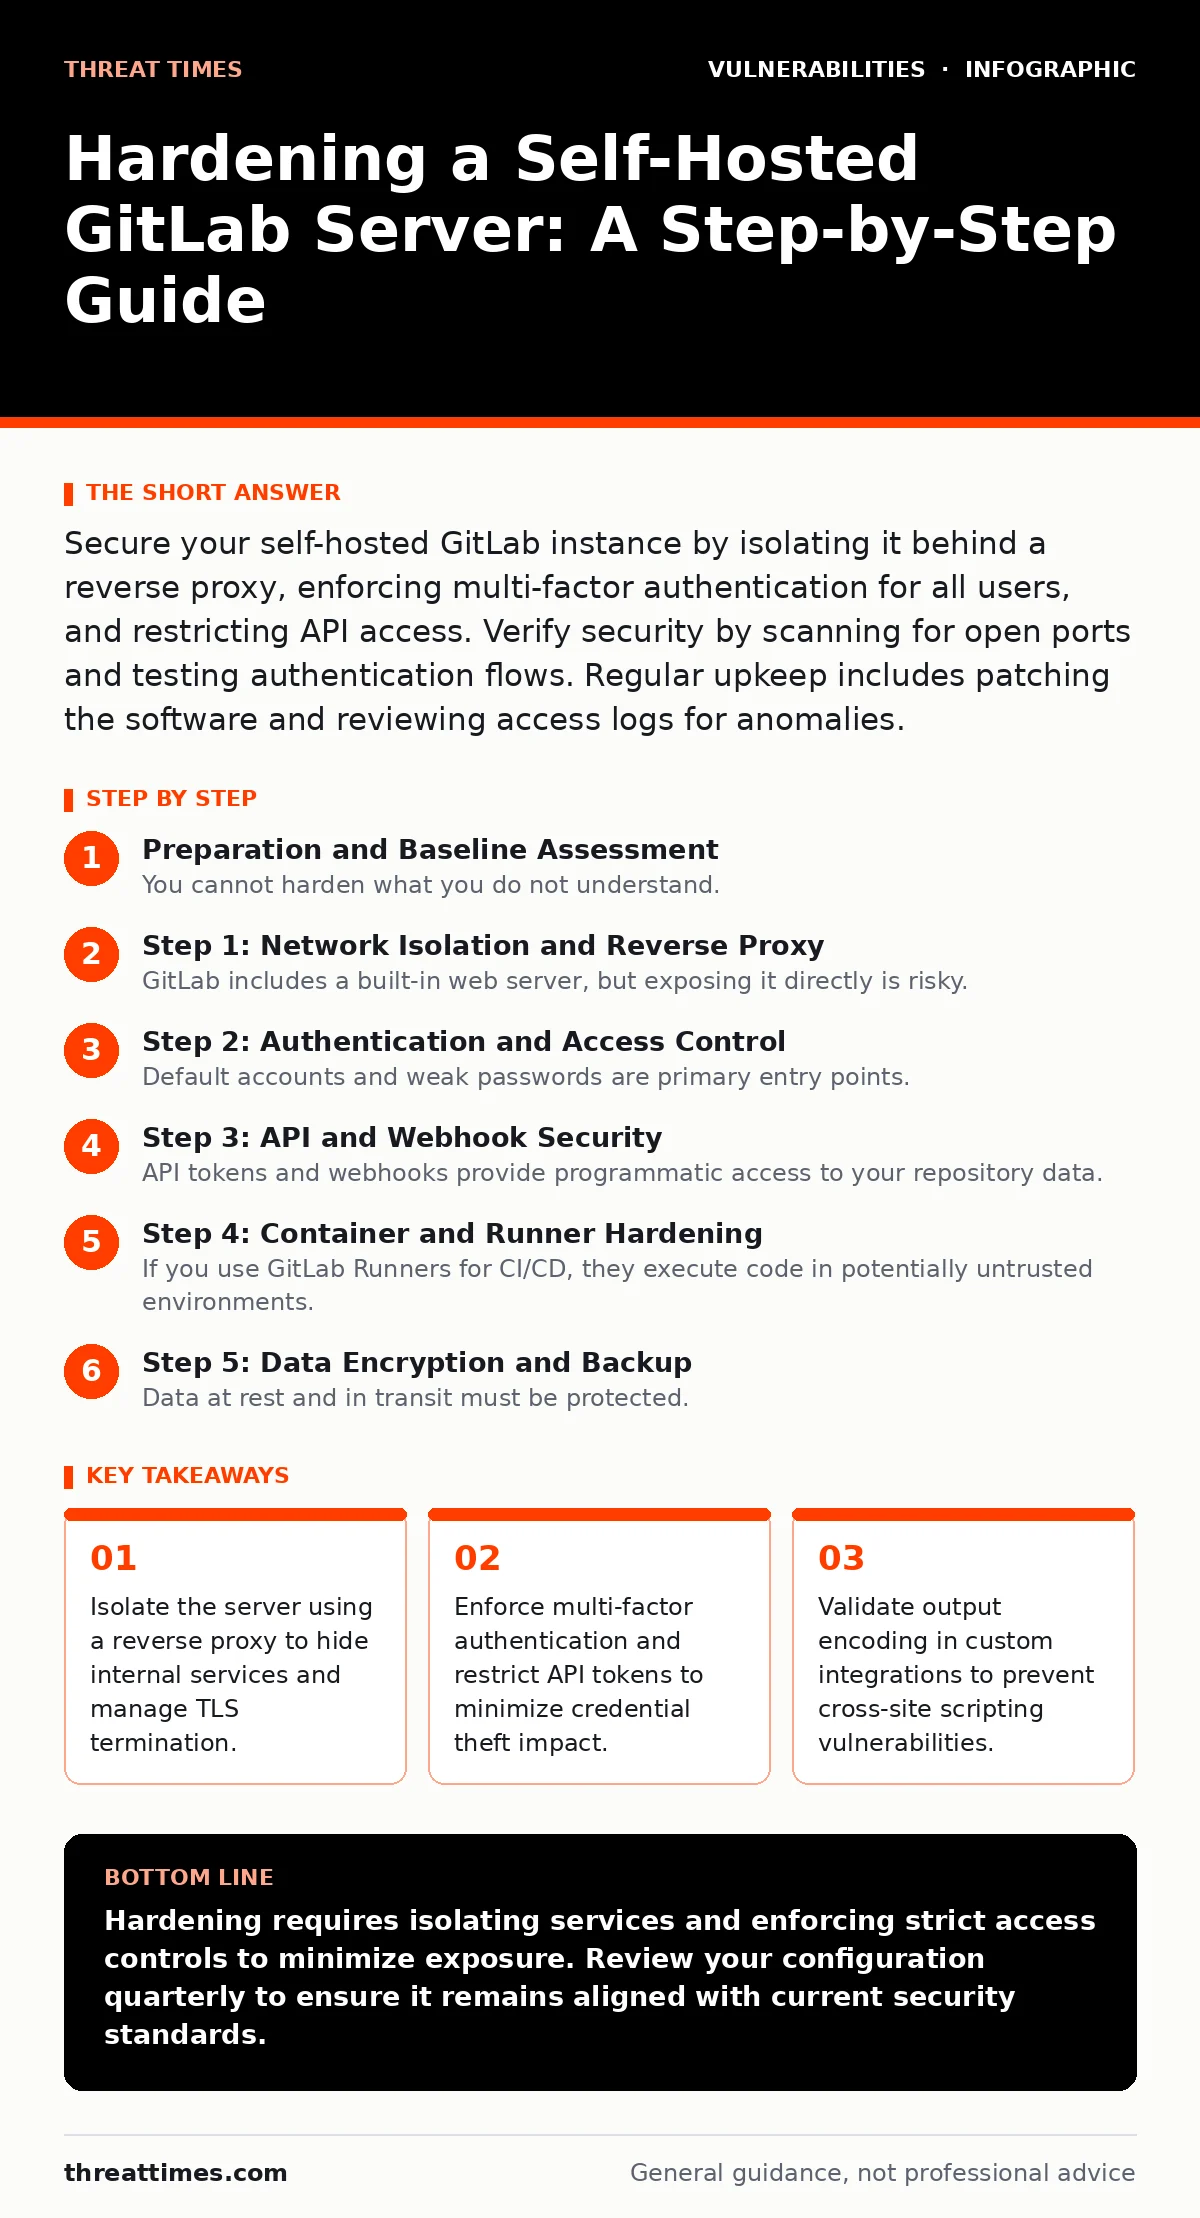
Secure your self-hosted GitLab instance by isolating it behind a reverse proxy, enforcing multi-factor authentication for all users, and restricting API access. Verify security by scanning for open ports and testing authentication flows. Regular upkeep includes patching the software and reviewing access logs for anomalies.
Preparation and Baseline Assessment
You cannot harden what you do not understand. Begin by mapping the current state of your self-hosted GitLab instance. This process aligns with risk-based vulnerability management principles, where you prioritize fixes based on potential impact rather than sheer volume. Review your IT asset inventory to ensure the server is accounted for and its dependencies are known.
Identify all network interfaces, running services, and user accounts. Check which ports are exposed to the public internet. A default installation often exposes more than necessary. Document the current configuration before making changes. This baseline allows you to revert if a change breaks functionality.
Step 1: Network Isolation and Reverse Proxy
GitLab includes a built-in web server, but exposing it directly is risky. Place a reverse proxy, such as Nginx or Apache, in front of the application. The proxy handles TLS termination, filtering, and request routing. Configure the proxy to reject requests with malformed headers. Set strict timeouts to prevent slowloris attacks. Ensure the proxy forwards the client IP address correctly so GitLab logs can identify the source of requests. This setup hides the internal port structure from external scanners.
Verify this step by checking the server headers in browser developer tools. The response should come from the proxy, not the internal application server. Use a port scanner to confirm that only the proxy ports are open to the outside world. Internal ports should be unreachable from the public internet.
Step 2: Authentication and Access Control
Default accounts and weak passwords are primary entry points. Delete the default administrator account and create a new one with a unique name. Enforce multi-factor authentication for all users, especially those with administrative privileges. This adds a layer of security that passwords alone cannot provide. Restrict sign-up methods to prevent unauthorized account creation. Disable password authentication for SSH if your team uses key-based authentication.
Check this configuration by attempting to log in with a disabled method. It should fail immediately. Review the user list to ensure no unknown accounts exist. Set a password expiration policy if your organization requires it, though many experts prefer MFA over forced rotations.
Step 3: API and Webhook Security
API tokens and webhooks provide programmatic access to your repository data. Leverage attack surface management techniques to limit what these tokens can do. Create tokens with the minimum required scopes. Avoid using admin-level tokens for automated scripts. Rotate tokens regularly and revoke those that are no longer needed. Webhooks should use secret tokens to verify that requests originate from your GitLab instance.
Verify API security by attempting to use a token with insufficient scopes. The API should return a permission denied error. Check webhook logs to ensure all incoming requests are validated against the secret. This prevents attackers from injecting malicious payloads into your CI/CD pipelines.
Step 4: Container and Runner Hardening
If you use GitLab Runners for CI/CD, they execute code in potentially untrusted environments. Runners should operate in isolated containers or virtual machines. Use ephemeral environments that are destroyed after each job. This limits the blast radius of a compromised build. Restrict runner permissions to prevent them from accessing other resources on the host. Monitor runner logs for unusual activity.
Verify runner isolation by attempting to access the host filesystem from within a build job. It should fail. Check that the runner service runs under a non-root user. This reduces the impact of a potential memory corruption bug within the build environment.
Step 5: Data Encryption and Backup
Data at rest and in transit must be protected. Ensure TLS is enforced for all connections. Use strong cipher suites and disable outdated protocols. Encrypt backups using a separate key management system. Store backups offline or in a different geographic region to protect against ransomware. Test backup restoration procedures regularly to ensure data integrity.
Check encryption by inspecting the certificate details in your browser. Ensure the certificate is valid and uses a strong algorithm. Attempt to restore a backup to a separate test environment. This confirms that your recovery process works when you need it.
Step 6: Monitoring and Logging
Visibility is key to detecting breaches. Configure GitLab to send logs to a centralized logging system. Monitor for failed login attempts, unusual API usage, and changes to administrative settings. Set up alerts for critical events. Regularly review logs for patterns that indicate an attack. This helps you respond quickly to incidents.
Verify logging by triggering a test event, such as a failed login. Check that the event appears in your logging system with the correct details. Ensure that log retention policies comply with your organization's requirements.
Verification Checklist
Use this checklist to confirm your hardening efforts.
- Reverse proxy is configured and hiding internal services.
- Multi-factor authentication is enforced for all users.
- API tokens have minimal scopes and are rotated regularly.
- CI/CD runners operate in isolated, ephemeral environments.
- Data is encrypted at rest and in transit.
- Logs are centralized and monitored for anomalies.
- Backups are encrypted and tested for restoration.
Upkeep and Maintenance
Security is not a one-time task. Regularly update GitLab to the latest version to patch known vulnerabilities. Review user permissions and API tokens quarterly. Update firewall rules as your infrastructure changes. Stay informed about new threats and adjust your defenses accordingly. Consider coordinated vulnerability disclosure practices if you discover issues in the software.
Check for updates using the package manager or GitLab's update tool. Apply patches in a test environment first. Monitor system performance after updates to ensure stability.
Conclusion of Hardening Efforts
Hardening a self-hosted GitLab server requires a layered approach. By isolating the network, strengthening authentication, securing APIs, and monitoring logs, you significantly reduce the risk of compromise. Remember that output encoding is critical when integrating custom applications with GitLab to prevent injection attacks. Regular maintenance and updates keep your defenses effective against evolving threats.
Key takeaways
- Isolate the server using a reverse proxy to hide internal services and manage TLS termination.
- Enforce multi-factor authentication and restrict API tokens to minimize credential theft impact.
- Validate output encoding in custom integrations to prevent cross-site scripting vulnerabilities.
Hardening requires isolating services and enforcing strict access controls to minimize exposure. Review your configuration quarterly to ensure it remains aligned with current security standards.
Frequently asked questions
Does hardening affect GitLab performance?
Minimal impact is expected if you configure the reverse proxy and database correctly. Proper tuning can even improve performance by offloading TLS termination.
How often should I rotate API tokens?
Rotate tokens every 90 days or immediately if a user leaves the organization. Use automated tools to manage expiration and renewal.
Can I run GitLab on a shared server?
It is not recommended. Shared servers increase the risk of cross-tenant attacks. Use a dedicated virtual machine or container for GitLab.
What if I lose my MFA device?
Ensure at least two administrators have backup MFA methods. Store recovery codes securely offline. Test the recovery process annually.
How this guide was produced: written by the Threat Times editorial team with AI assistance, checked against the public references listed below, and reviewed when the facts change. See our editorial policy or report an error.